
Learn Peekaboo Boxing Without Losing Your Balance
Build a compact peekaboo guard, practise balanced slips and learn a jab–slip–counter sequence, with three solo rounds and clear checks before partner work.
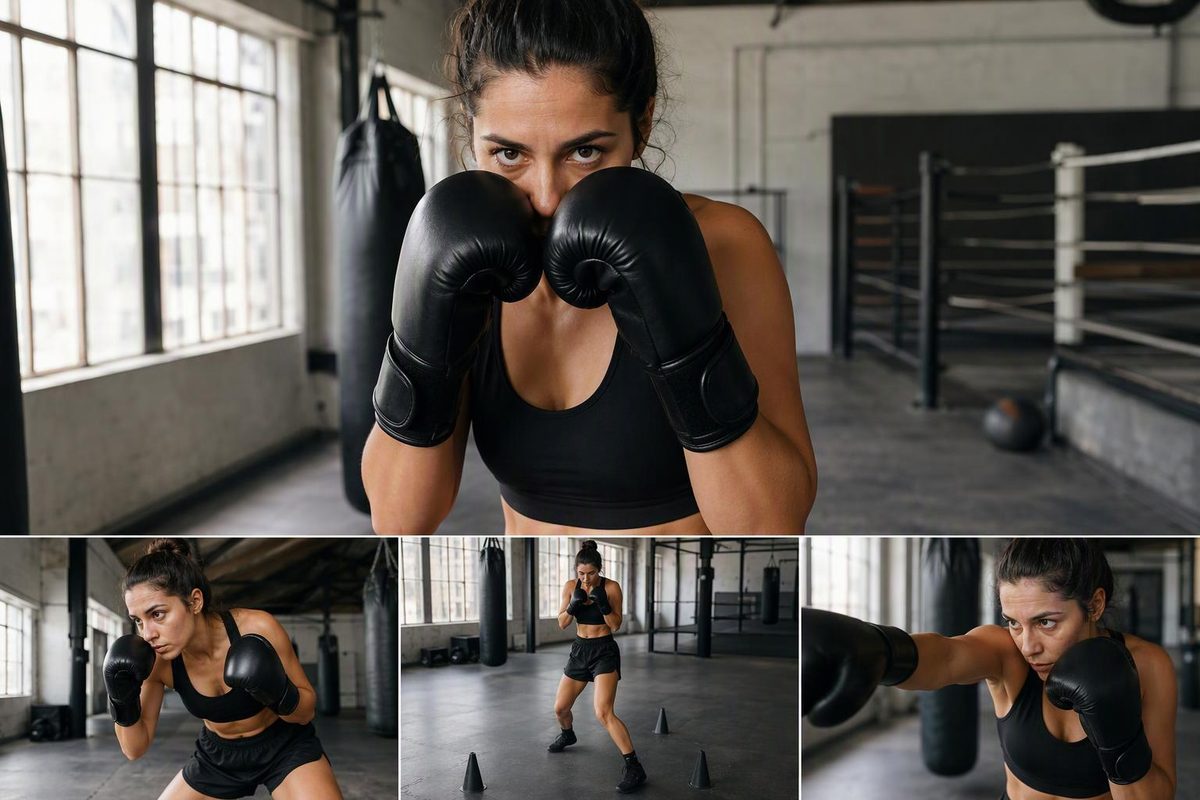
Peekaboo boxing is a system of high, compact guarding, head movement, footwork and counterpunching—not simply covering your face and walking forward. Beginners can practise its guard and small evasive movements, but should establish a stable boxing stance before adding fast entries, deep rolls or stance switches. The immediate goal is to make a movement and still be balanced enough to punch, recover and leave range.
Choose what you can do under control; the tool selects your next solo drill.
Choose Your Next Solo Drill
Check Your Guard and Feet
Take short steps forward, backward and to either side, resetting after each. Start slowly with a one-minute practice round, resting as needed.
Before adding slips, check that your feet stay separated, your hands stay up and you can stop without an extra recovery step.
Solo control does not establish live defense or readiness for sparring. Stop for pain or dizziness.
Source: this guide’s three-round practice sequence, with guard and movement cues from Teddy Atlas and Fran Sands. These are practice choices, not a validated readiness test.
Developed by Cus D’Amato and associated with Floyd Patterson, José Torres and Mike Tyson, peekaboo combines pressure with evasive defense. Teddy Atlas’s explanation of peekaboo describes that relationship: approaching an opponent while making punches miss, then attacking from a useful position.
A beginner does not need to reproduce Tyson’s explosive movement to learn something useful from the system. Start with the parts you can inspect and correct: where your hands sit, whether your feet remain separated, how far your head moves, and whether you finish each action ready for the next one. Treat the drills below as coordination practice, not evidence that you can evade punches in sparring.
Set Up a Compact Guard Over a Stable Stance
Start in your normal boxing stance: left foot forward for orthodox, right foot forward for southpaw. Keep separation between your feet from side to side as well as front to back. If that position is unfamiliar, work through the beginner footwork guide first. A high guard cannot compensate for feet that cross or come together whenever you move.
Bring your hands around cheek level, just below your eyes. Keep your elbows close to your ribs without squeezing your shoulders rigid. Lower your chin while keeping your eyes on the imagined opponent’s chest and shoulders. Soften your knees so you can step or lower your position without first unlocking your legs.
Atlas specifically warns against placing the hands high beside the temples, where they can restrict peripheral vision. He also describes a slightly more squared stance than the traditional boxing stance. His guard and stance cues describe a modest adjustment—not standing with both feet level and facing the opponent flat-on.
For your first practice, keep the stance you can already move in. Do not turn both feet toward the imagined opponent merely to make your pose look more like a photograph. If changing your body angle makes stepping awkward, return to your familiar stance and have a coach help you make the adjustment.
The guard should be a position you can move and punch from, not a shape you hold by tensing everything. Check that you can see forward, extend a light jab and bring it back without lifting your chin. When the jab returns, restore the same hand position rather than leaving an opening because you are already thinking about the next movement.
Checkpoint: take one short step forward, backward and to either side. Your feet should remain separated, your hands should stay up, and you should be able to stop without an extra recovery step. If you cannot stop cleanly, shorten the step before adding head movement.
Keep Slips Small Enough to Preserve a Counter
A slip moves your head off the path of a straight punch. For solo practice, imagine that path rather than swinging your head as far sideways as possible. Begin in your guard, make a small rotation through your hips and torso with a slight knee bend, then return to your starting position. Reset before practising the other side.
Keep looking forward rather than down at the floor. Your hands should remain in position as your body moves. The exercise is not complete if you move your head but leave your guard behind, lose sight of the imagined opponent, or need to rearrange your feet afterward.
In his slipping tutorial, coach Fran Sands identifies excessive movement and bending at the waist instead of using the legs as common faults. Both interfere with the counterpunch that should follow. That gives you a useful way to judge the size of your slip: assess what you can do at the end, not how dramatic it looks.
Checkpoint: pause at the end of each slip. Can you throw a light straight punch and recover your guard without first rearranging your feet? If not, make the slip smaller. Do this on both sides; being comfortable moving one way does not establish that the other direction is equally controlled.
Keep the pause while you are learning. It separates the movement from the correction, so you can notice whether you finished balanced or simply rushed through an unstable position. Once the movement is controlled, you can connect it to the next action without deliberately stopping. Speed should not hide a fault you can already see slowly.
Solo slipping does not establish the correct timing or direction against a live punch. An imagined straight punch has no changing distance, follow-up or opponent attached to it. Use this drill to learn the motion; use coached partner work to learn when that motion is appropriate.
Learn the Roll Without Folding Forward
A roll, often called a bob and weave, takes your head underneath an imagined looping punch and across to the other side. Use your legs to lower and move your body through a gentle arc rather than folding forward at the waist. Sands’s roll tutorial stresses relaxed legs and keeping the hands in position throughout.
The distinction from a slip matters. A slip practises moving off a straight punch’s path; a roll practises moving underneath a looping punch. Randomly alternating the two in shadowboxing can make you busy without helping you understand what you are defending against. Name the imagined punch before choosing the movement.
Begin with slips rather than putting rolls into every combination. When you practise a roll, keep it slow enough to check your eyes, hands and finishing stance. If you are staring at the floor or have to stand back up before you could punch, stop and reset instead of repeating the same deep crouch.
Have a coach check your roll before adding it to fast combinations. A deep crouch copied from a highlight clip is not a substitute for learning the movement. Nor does getting lower automatically make the defense better: your practice still needs to leave you able to see, punch and move from the finishing position.
Connect the Entry, Defense, Counter and Exit
Peekaboo needs more than busy head movement. Each movement should avoid an imagined punch, improve your position or prepare a counter. If you cannot say what a slip is responding to, slow the sequence down and give it a clear purpose.
For solo practice, use this sequence:
- Step into range behind a light jab.
- Recover the jab and make a small slip.
- Throw a controlled rear straight.
- Recover your guard and step back out.
This is a coordination exercise, not a guaranteed answer to an opponent’s jab. In partner work, the appropriate slip direction and counter depend on both boxers’ stances, distance and the incoming punch. Do not turn the solo sequence into a fixed instruction to slip the same way against every opponent.
Start by checking the transitions. After the jab, your hand needs to come home before the slip becomes an excuse to leave it extended. After the rear straight, recover your guard before treating the combination as finished. On the exit, keep your feet separated rather than pulling them together because the punching has stopped.
Sands’s defense drills use a related structure: trigger an attack, defend, attack, then defend again. The useful habit is not ending your work with the punch and standing still. Your final punch is one part of the exchange, not permission to drop your hands.
If the whole sequence falls apart, remove the punches temporarily. Revisit the stepping checkpoint or the paused slip, depending on where you lose position. Then rebuild the sequence slowly. Repeating a shorter action correctly is more useful here than completing a longer combination with the same uncontrolled finish.
Practise Three Short Solo Rounds
Use clear, non-slip floor space. Start slowly with three one-minute rounds, resting as needed. These are beginner practice intervals, not a test of fitness. The round length does not mean you should continue a movement that hurts or keep repeating it after you can no longer control it.
| Round | Action | Fault and Correction |
|---|---|---|
| 1: Guard and feet | Take short steps in four directions, resetting after each. | Feet come together: reduce the step size and restore your stance. |
| 2: Compact slips | Slip to one side, reset, then slip to the other. No punches. | Head swings far sideways: pause and check that you can still punch in balance. |
| 3: Linked sequence | Practise jab, slip, rear straight, guard recovery and step out. | Hands drop: slow down and finish recovering your guard. |
In the first round, give each step a definite end. Stop, check the space between your feet and check your hands before moving again. This makes a recovery step visible instead of allowing it to disappear into continuous shuffling. If one direction repeatedly breaks your stance, keep that direction slow rather than speeding through it.
In the second round, leave the punches out so you can judge the slip itself. Reset between sides. The purpose is to arrive in a position from which a punch would be available, not to produce a constant side-to-side rhythm. Use the paused-punch checkpoint to inspect that position, then return to slips without punches.
In the third round, keep the jab and rear straight controlled. You are linking familiar actions, not testing power. If punching makes your head movement larger or your feet less stable, slow the sequence and restore the same positions you managed in the earlier rounds.
A mirror can help you check hand position; a short front and side recording can reveal whether you fold forward. Use those views to inspect a specific fault, such as a dropping hand or a forward bend. A convincing-looking rhythm is not enough if the recording shows that you cannot stop in balance.
Stop if a movement causes pain or dizziness. Do not use the remaining round time as a reason to push through either symptom.
Use Partner Work to Test Timing, Not Solo Confidence
Solo practice can build coordination, but it cannot tell you whether your defense works against a punch. Being able to slip smoothly in front of a mirror is different from recognizing an incoming punch and moving at the right moment. Progress to controlled partner drills with a qualified boxing coach before sparring.
Ask the coach to check the same features you have practised: a usable guard, a stable finishing stance, compact movement and a complete recovery after punching. Partner work adds the information solo drills lack—an actual punch, a distance to judge and another boxer’s stance. That is why a self-check or the practice picker above can select a drill but cannot clear you for sparring.
You do not need to adopt peekaboo as your entire style. As Sands argues, learning a broader range of boxing skills is more useful than restricting yourself to one named system. Keep learning your stance, jab and footwork alongside these defensive movements.
The useful beginner result is specific: you can hold the guard without losing your view, step without collapsing your stance, slip without needing to reset your feet, and recover after a controlled counter. Build those actions first; leave explosive entries and stance switches for coached work rather than copying their appearance.