
Six Boxing Guards: Positions, Uses and Beginner Tradeoffs
Compare six boxing guards, understand their tradeoffs, and learn a simple solo drill for keeping your hands in position while punching and moving.
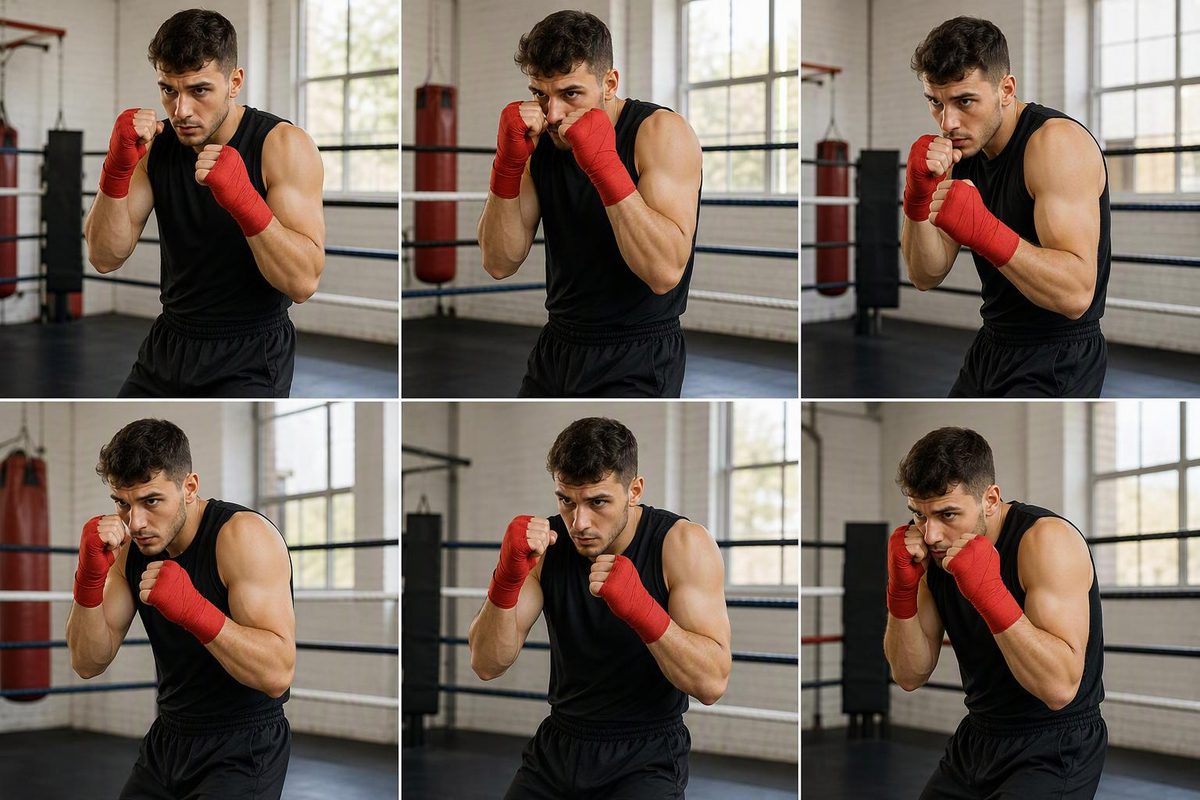
Six boxing guards you will encounter are the traditional guard, tight high guard, peekaboo guard, Philly shell, cross-arm guard and long guard. These are not six completely separate systems. The names overlap: a guard describes your defensive hand-and-arm position, while a boxing style includes how you move, attack and counter.
For a beginner, start with a balanced stance and a conventional hands-up guard. England Boxing’s coaching handbook identifies three guard principles: protect the target area, stay relaxed and return to guard quickly. Those matter more than copying a professional’s silhouette. England Boxing coaching handbook
Here, lead means the hand and foot nearest your opponent; rear means the ones farther back. Orthodox and southpaw describe which side leads, not separate types of guard.
1. Traditional or basic guard
Position: Keep your rear hand beside your cheek and your lead hand slightly forward, around shoulder-to-cheek height. Keep your chin down without forcing it against your chest, and your elbows close enough to cover your body.
Use: This is a practical starting position for punching, blocking and parrying—redirecting a punch with a small hand movement.
Tradeoff: Hands held too low expose the chin; elbows spread outward expose the body. Holding your hands too far in front also leaves room for hooks to come around them. Stay relaxed rather than squeezing your fists and shrugging your shoulders. These are faults highlighted in the England Boxing handbook.
2. Tight high guard
Position: Bring both gloves higher and closer to your head, with your forearms forming a compact shield. Keep the elbows controlled rather than lifting the whole frame upward.
Use: A tighter head cover for blocking punches. Boxers may move into it temporarily during an exchange rather than hold it throughout a round.
Tradeoff: The gloves can obscure your view, and raising the elbows can leave the body open. Do not treat it as a wall that makes footwork unnecessary. Evolve’s guard comparison distinguishes this tighter cover from the traditional guard and notes its visibility and body-coverage limitations.
3. Peekaboo guard
Position: Hold both hands close to the cheeks, with elbows tucked and a relatively square upper-body position.
Use: The guard associated with Cus D’Amato and Mike Tyson works alongside slips, rolls and footwork to enter punching range. It is not simply a high guard with extra crouching.
Tradeoff: Copying the hand position without the movement leaves out much of the system. Evolve describes the peekaboo guard’s emphasis on head movement and forward pressure. For a slower progression, see our peekaboo setup and beginner drills.
4. Philly shell
Position: The lead arm sits low across the torso, the rear hand stays high, and the raised lead shoulder helps shield the chin.
Use: Combines rear-hand catches and blocks with shoulder rolls, which turn the lead shoulder into the path of a punch to deflect it.
Tradeoff: A low lead hand removes the usual glove cover on that side of your head. The position depends on timing, angle and coordinated defensive movement—not merely dropping one hand. Evolve’s Philly shell explanation stresses its difficulty and the importance of the lead shoulder. Learn it with a coach rather than making it your beginner default.
5. Cross-arm guard
Position: Cross or overlap the forearms in front of the upper body, changing their height to cover different targets.
Use: An alternative blocking structure associated with boxers such as Archie Moore and George Foreman.
Tradeoff: The arms must reposition to deliver conventional straight punches, and body coverage varies with the arrangement. It differs from the Philly shell’s usual low lead arm and high rear hand. See Evolve’s cross-guard overview.
6. Long guard
Position: Extend the lead arm farther toward the opponent while keeping the rear hand in a protective position.
Use: Helps intercept punches and manage the opponent’s lead hand at longer range. Evolve’s long-guard guide describes the extended lead arm and rear-hand backup.
Tradeoff: The extended glove is no longer beside your face. Do not turn it into a rigid reach or lean out of balance; learn when to extend and recover it with a coach.
Start with one guard-recovery drill
A common beginner fault is letting the rear hand drop while throwing the jab. England Boxing’s jab coaching points identify this fault and stress returning the lead hand to guard. Use this solo drill to check both:
- Set your basic guard in front of a mirror, with clear space around you.
- Throw five slow jabs. Keep the rear hand beside your cheek and return the lead hand directly to its starting position.
- Add a short step forward or backward between jabs, preserving your stance width. Use our beginner footwork guide if your feet come together.
- Pause after each punch: can you still see ahead, are your elbows controlled, and could you move in either direction without resetting your feet?
Repeat only while those checkpoints stay consistent. Practise the positions without contact first; partner defense and sparring belong in coached sessions, not an unsupervised test of which guard can absorb punches.